
Follow Me On Social Media!
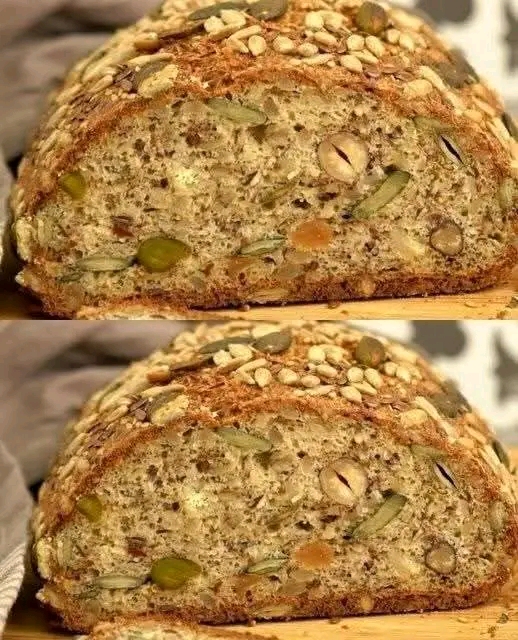
Seed and Nut Bread Recipe: A Wholesome Delight for Every Occasion

In a world where convenience often overshadows nutrition, homemade bread continues to be a cornerstone of wholesome eating. Our seed and nut bread recipe is not only straightforward but also packed with flavor and nutrients. Whether you’re a seasoned baker or a novice, this recipe is perfect for anyone looking to elevate their bread game.
The Benefits of Homemade Bread
Making your own bread can be incredibly fulfilling. Here are a few reasons why you should consider it:
- Nutritional Control: When you bake your own bread, you have complete control over the ingredients, allowing you to choose whole, natural foods without preservatives or additives.
- Cost-effective: Homemade bread can save you money in the long run, especially if you bake in batches and freeze your loaves.
- Customizable Flavors: You can adjust the recipe to suit your taste—add more seeds, substitute different nuts, or incorporate spices for a unique twist.
Ingredients You’ll Need
For this recipe, you’ll need the following ingredients:
Dry Ingredients:
- 2 cups whole wheat flour
- 1 cup all-purpose flour
- 1 cup mixed seeds (pumpkin, sunflower, flax, and sesame)
- ½ cup mixed nuts (walnuts, almonds, or hazelnuts)
- 1 tablespoon baking powder
- 1 teaspoon salt
Wet Ingredients:
- 1 cup warm water
- ¼ cup honey or maple syrup
- 2 tablespoons olive oil
- 1 tablespoon apple cider vinegar
Instructions to Make Seed and Nut Bread
Step 1: Prepare the Dough
Start by preheating your oven to 350°F (175°C). In a large mixing bowl, combine the whole wheat flour, all-purpose flour, baking powder, and salt. Mix in your seeds and nuts until evenly distributed.
In a separate bowl, whisk together the warm water, honey or maple syrup, olive oil, and apple cider vinegar. Gradually pour the wet ingredients into the dry mixture, stirring until combined.
Step 2: Knead the Dough
Turn the dough out onto a lightly floured surface and knead it for about 5-7 minutes until it becomes smooth and elastic. If the dough is too sticky, sprinkle a bit of flour as needed.
Step 3: First Rise
Shape the dough into a ball and place it in a lightly greased bowl. Cover it with a clean kitchen towel and allow it to rise in a warm place for about 1 hour or until it has doubled in size.
Step 4: Shape the Loaf
Once the dough has risen, punch it down to release the air. Transfer it back to a floured surface and shape it into a loaf. Place the loaf into a greased bread pan.
Step 5: Second Rise
Cover the loaf with the kitchen towel and let it rise for another 30 minutes. This second rise enhances the texture of the bread.
Step 6: Bake the Bread
After the second rise, put the bread in the oven and bake for 30-35 minutes, or until the top is golden brown and the loaf sounds hollow when tapped.
Tips for the Perfect Seed and Nut Bread
- Seeds and Nuts: Experiment with different types of seeds and nuts to find your perfect combination.
- Storage: Let the bread cool completely before slicing. Store it in an airtight container for up to a week, or freeze for longer storage.
- Serving Suggestions: This bread is versatile—enjoy it with butter, jam, or cheese, or use it as the base for sandwiches.
Conclusion
Baking your own seed and nut bread is a rewarding experience that offers both nourishment and deliciousness. Celebrate the art of homemade bread by trying this recipe and enjoy the satisfaction of sharing it with family and friends. So roll up your sleeves, gather your ingredients, and get ready to create a wholesome loaf that will be the centerpiece of any meal!
Feel free to make any adjustments or let me know if you’d like additional sections or specific keywords to include for SEO!



