
Follow Me On Social Media!
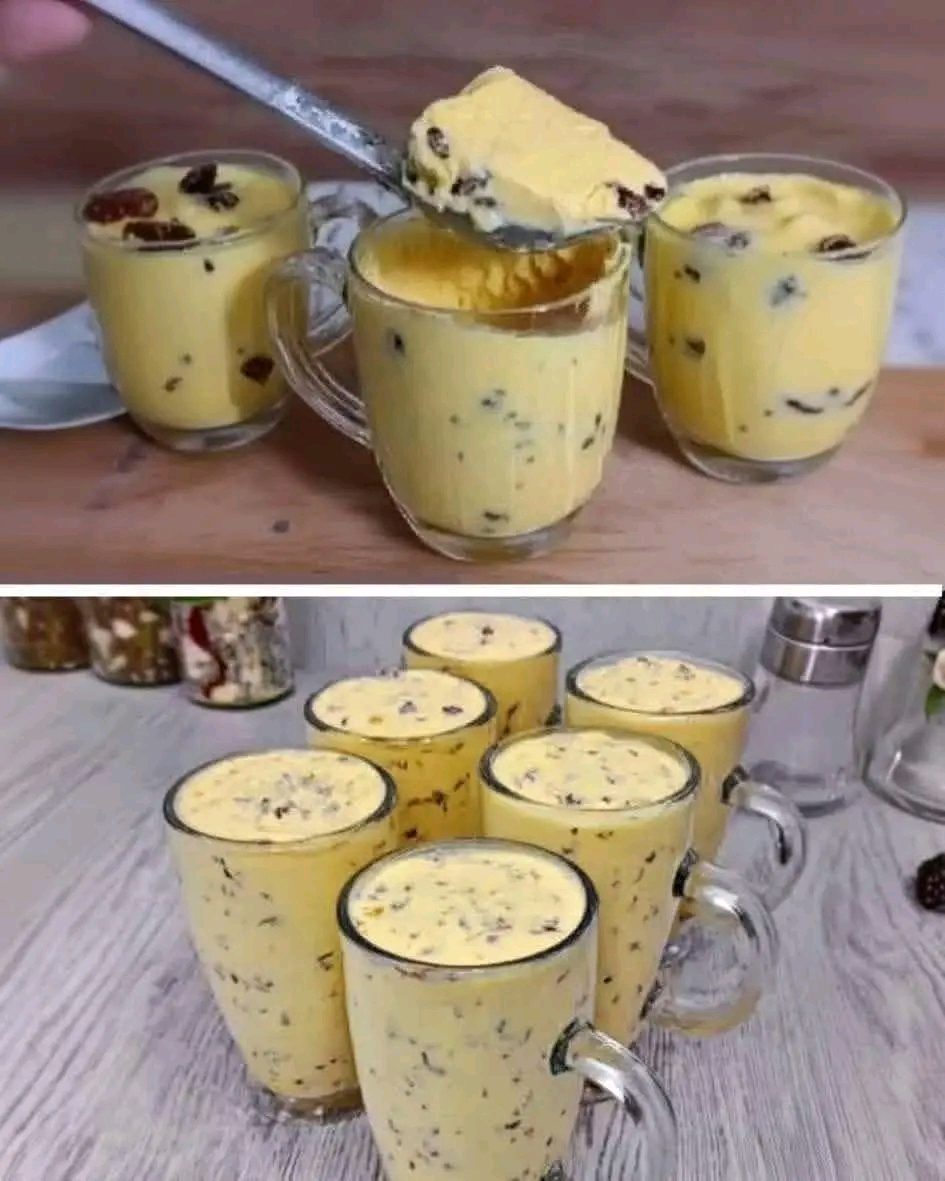
How to Make The Ultimate 2-Ingredient Chocolate Mousse

This article will cover:
‑ Why a 2‑ingredient chocolate mousse works
‑ Two main approaches (cream + chocolate; chocolate + water / vegan)
‑ Step-by-step instructions, with troubleshooting
‑ Tips for choosing your chocolate & tools
‑ Serving ideas and garnishes
‑ Storage, variations, and FAQs
By the end, you’ll be able to whip up an elegant mousse for any occasion—effortless, luxurious, and with minimal ingredients.
Why a 2‑Ingredient Chocolate Mousse Works
At first glance it sounds impossible: how can two ingredients yield something so rich, airy, and mousse‑like? The trick lies in physics, fat, and emulsification.
Fat and emulsification
Chocolate contains cocoa butter, which is fat that can melt and re-solidify. When you melt chocolate with a small amount of liquid (water, coffee, or cream) and then cool it while whisking, the cocoa butter molecules trap air and re-form a network that entraps bubbles. In effect, the whisking over cooling helps the fat re-solidify in place around air pockets, creating the light, airy mousse texture. This is the same principle behind the so-called “chocolate chantilly” or “instant mousse” techniques studied by culinary scientists like Hervé This.
When cream is used, it brings its own fat and structure (when whipped) and helps stabilize the mixture, giving you more margin for error. Traditional mousse recipes use cream, eggs, gelatin, or whipped egg whites, but the 2‑ingredient versions lean on the chocolate + careful technique or the cream + chocolate synergy.
Because you’re working with so few ingredients, quality matters: a good chocolate (with suitable cocoa solids, flavor, and temper) makes a huge difference.
Two Main Approaches
There are essentially two broad camps when it comes to 2‑ingredient chocolate mousse:
- Cream + chocolate — melt chocolate into some cream, then fold or whip to create airy structure
- Chocolate + water / liquid method (vegan / minimal) — melt chocolate with hot water (or coffee), then whisk over an ice bath to trap air and form a mousse
Each has strengths, drawbacks, and ideal uses.
Cream + chocolate method
This is perhaps the more forgiving method, especially if you’re used to traditional mousses. You melt chocolate (or chocolate + a little cream) and then incorporate whipped cream (or whip together a mixture) to produce lightness. Many “2-ingredient” recipes in this style actually require dividing the cream (one part melted with chocolate, the rest whipped) or folding gently. For example, a common version calls for 2 cups heavy cream and 1 cup chocolate chips, melting half the cream with the chocolate, then whipping the rest and folding. Some kosher versions use half cream to melt and half to whip.
Pros: more forgiving, richer, stable structure
Cons: requires cream (dairy), more steps (melting, cooling, folding)
Chocolate + water (or coffee / hot water) method
This is the more minimalist, molecular trick: you melt chocolate with hot water, then whisk the mixture over an ice bath until it thickens and becomes mousse. The technique is delicate, but the reward is pure chocolate flavor with no dairy or eggs. This is sometimes called the “Hervé This / Heston Blumenthal style” mousse.
Many people may be skeptical that water + chocolate could yield mousse, but the magic is in the proper ratio and whisking. For example, one recipe uses 250 g chocolate and 175 ml boiling water, then whisking over ice to achieve the foam.
Pros: vegan, dairy-free, extremely simple
Cons: more technique sensitive, easier to go wrong, texture must be carefully managed
You can also hybridize (for instance, chocolate + a small amount of cream) or add optional flavorings (coffee, liqueurs, extracts) if you allow yourself a “+1” additive.
Ingredients & Tools You’ll Need
Ingredients
| Component | Suggestions / Tips |
|---|---|
| Chocolate | Use good quality dark chocolate (ideally 60‑85% cocoa solids). Avoid low‑grade chocolate bars with lots of fillers. The higher cocoa solid chocolates tend to form more stable structure. |
| Liquid | Depending on method: heavy cream (chilled) or hot water / coffee / even tea (if vegan). Use boiling or near‑boiling water to melt the chocolate initially. |
| Ice / ice bath | For the water method, you’ll need a bowl of ice + water to cool the whisking bowl. |
| (Optional) Flavorings / garnishes | A pinch of salt, vanilla essence, coffee, liqueur (e.g., Kahlúa, Grand Marnier), cocoa powder, shaved chocolate, fruit, nuts |
Tools & Equipment
‑ Heatproof bowl
‑ Pot/bowl for melting (double boiler style or microwave)
‑ Whisk (a whisk does fine, or better: hand mixer or electric whisk)
‑ Mixing bowl for ice bath
‑ Spatula
‑ Serving glasses or ramekins
‑ Digital scale (especially helpful for precision in water method)
Having a chill between steps and good temperature control is key to success.
Step‑by‑Step: Cream + Chocolate Method
Here’s a classic version using cream and chocolate that simplifies but still gives excellent texture.
Ingredients (serves ~4–6)
- 1½ cups heavy whipping cream (chilled)
- 1 cup chocolate chips or chopped chocolate (semi‑sweet / dark)
Instructions
- Divide the cream (optional but helpful). For best results, use half the cream to melt with the chocolate, and reserve the rest to whip.
- Melt chocolate + cream. In a heatproof bowl, combine the chocolate and (say) ½ cup cream. Gently heat (double boiler or microwave in short increments) until smooth and fully melted. Stir well to ensure uniform texture.
- Cool the chocolate mixture. Let it rest, or even put it in the fridge briefly (don’t let it solidify). You want it cool but still fluid. This is to avoid shocking the whipped cream with warm chocolate.
- Whip the remaining cream. Whip the reserved cream until soft to medium peaks (not too stiff). You want a light, airy texture but still pliable.
- Fold chocolate into whipped cream. Gently fold a portion of whipped cream into the chocolate mixture to lighten it, then fold in the rest until fully incorporated, being careful not to deflate too much.
- Chill. Spoon the mousse into serving glasses or ramekins. Chill in the fridge at least 1–2 hours so it sets (some recipes suggest up to 3 hours).
- Serve & garnish. Before serving, you can top with shaved chocolate, cocoa powder, berries, or a dollop of whipped cream.
Troubleshooting & Tips
‑ If your mixture seems too loose, you may have heated chocolate too much or added warm cream. Chill slightly and whisk again.
‑ If it looks grainy or curdled, gently rewarm a bit and whisk.
‑ Use cold cream and cold utensils to help maintain structure.
‑ Don’t overfold—just fold until no streaks of white remain.
This method gives a reliably creamy, stable mousse with depth and richness.
Step‑by‑Step: Chocolate + Water (Vegan / Minimalist)
This is the bold method that defies expectations: chocolate + hot water, then whipped over ice to turn into mousse.
Ingredients (approx, for 4 servings)
- 250 g dark chocolate (good quality, ~70% cocoa)
- ~175 ml boiling water
Instructions
- Prepare an ice bath. Fill a large bowl with ice and water. You’ll place your mixing bowl over it to cool swiftly.
- Melt chocolate with boiling water. Chop chocolate finely, place in a bowl, then add the boiling water. Stir until completely smooth and melted.
- Set the bowl over ice. Place your bowl with the melted chocolate mixture over the ice bath, ensuring the bottom of the bowl contacts the cold water.
- Whisk vigorously. Using a whisk (or electric mixer), whisk the chocolate mixture over the ice until it thickens, lightens in color, and adopts mousse-like volume. This takes several minutes. You’re effectively cooling while whipping to trap air and cause the cocoa butter to re-solidify around bubbles.
- Continue whisking off ice (if needed). Once it thickens, you can remove it from the ice and whisk a bit more if it needs extra texture.
- Spoon and serve. Transfer into serving cups immediately or chill briefly if desired. The mousse will hold shape.
Important ratios & details
The ratio of water to chocolate is delicate—too little water and the mixture will be too stiff; too much and it won’t hold shape. Some recipes suggest using ~0.84× water to chocolate by weight (for ~74% chocolate). Other published tests use 250g chocolate + 175 ml water.
If the mousse fails to set (remains liquid), you may need to melt again, reduce water, and whisk again. If it becomes too dense or stiff, you can remelt, add a bit more water, and whisk back.
Some failures come from using poor chocolate (low cocoa solids), incorrect temperature, or insufficient whisking.
This technique is fascinating and dramatic in result—pure chocolate flavor with no dairy. It’s often called “instant chocolate chantilly” or molecular mousse.
Tips to Achieve the Best Results
- Use quality chocolate. Chocolate with good cocoa content, minimal fillers, and proper composition helps ensure structure.
- Control temperature. Don’t overheat chocolate; don’t shock whipped cream or the melted mix. Gradual, controlled cooling is key.
- Chop chocolate small. Smaller pieces melt more evenly, reducing risk of graininess.
- Whisk energetically but carefully. Especially in the water method, whisking fast enough to trap air but not overdo it is critical.
- Don’t overfold or overwhip. Once the mixture reaches a light mousse consistency, stop.
- Chill before serving (for cream method). Let the mousse firm up.
- Add optional flavorings with care. Vanilla, coffee, salt or liqueur can elevate flavor—but too much liquid can break the structure.
- Test small batches first. If you’re trying the water method, do a mini batch to get the ratio right for your chocolate.
- Use the right whipped cream. For cream method, use heavy cream with enough fat (usually >30%).
- Be patient with whisking. Especially for the water technique, the thickening takes time.
Serving, Garnishing & Presentation
‑ Serve in glass cups, ramekins, or small jars.
‑ Garnish ideas: shaved chocolate, cocoa powder, chopped nuts, sea salt flakes, berries, mint leaves, whipped cream (if dairy method).
‑ Layer the mousse with fruit compote or fresh fruit for contrast.
‑ Use contrasting textures like crunchy cookie crumbs or toasted nuts.
‑ For a dramatic finish, dust with cocoa powder or sprinkle edible gold if making for special occasions.
Storage & Shelf Life
‑ Store mousse in airtight containers or cover with plastic wrap directly on the surface to avoid crust.
‑ Cream‑based versions last about 3 days in the refrigerator.
‑ The chocolate + water version can last 2–3 days, but its texture may soften over time.
‑ Bring cold mousse out 10–15 minutes before serving, but don’t leave it out too long.
‑ Avoid freezing—textures degrade on thawing.
Variations & Creative Twists
- Coffee or espresso twist. Use hot coffee instead of water (in the water method) for mocha notes.
- Flavored liqueurs. Add small amounts of liqueur (e.g. Kahlúa, Baileys, Grand Marnier) in melted stage (consider extra liquid).
- Salted chocolate mousse. Add a pinch of flaky sea salt to contrast the chocolate.
- Fruit infusions. Layer with raspberry sauce or infusion.
- Vegan cream version. Use coconut cream or chilled coconut milk (thick part) in the cream + chocolate method.
- Peanut butter chocolate mousse. Some recipes incorporate peanut butter + chocolate + water (though technically that becomes 3 ingredients) but can be adapted.
- Coconut chocolate mousse. Substitute coconut cream for dairy cream for tropical flavor.
- Lighter mousse. Use a lower fat cream or reduce chocolate slightly (may affect stability).
- Spiced mousse. Add cinnamon, chili, orange zest or spices in melted chocolate stage.
Common Pitfalls & Troubleshooting
| Problem | Possible Cause | Fix / Solution |
|---|---|---|
| Mousse too liquid / doesn’t set | Too much liquid / not enough whisking / chocolate low in fat | Remelt, reduce liquid slightly, whisk again |
| Mousse grainy / curdled | Overheating chocolate or overwhipping | Gently rewarm, whisk lightly again |
| Flavor too bitter | Using very dark chocolate without balancing | Use chocolate with bit more sweetness or add tiny bit of sweetener or fruit |
| Mixture separates or breaks | Adding warm ingredients / too much liquid | Chill, then whisk again; maintain proper temperature control |
| Air lost / deflated | Overfolding | Be gentle when folding; stop as soon as uniform |
FAQ
Q: Can I use milk chocolate or white chocolate?
Milk chocolate often has higher sugar and milk solids, which can destabilize the structure. White chocolate lacks cocoa solids and may not set properly. If using white, you might need to reduce liquid drastically and be prepared for a softer texture.
Q: Can I add sweetener or sugar?
Yes—but carefully. If you melt chocolate + cream (or water), you can stir in a little powdered sugar or liquid sweetener (e.g. simple syrup), but if you add too much extra liquid, you risk breaking the mousse. Use minimal additions and test small batches.
Q: Which chocolate % is ideal?
Something between 60% and 85% cocoa solids works well. Too low and the fat structure is weak; too high and the flavor may be too intense or texture brittle. Experiment with your favorite brand.
Q: Can I use flavored tea instead of water?
Yes, herbal or black tea can replace water in the water method (just be cautious with strong flavors). The extra flavor may shift the balance, so test as you go.
Q: Do I need to temper chocolate?
No—this method doesn’t require tempering as in candy making. You just need smooth melting and controlled cooling/whisking.
Q: Can I make this ahead?
Yes. Prepare a few hours ahead (for cream method) or up to 2 days ahead. Keep covered and cold. For water method, short-term storage is ideal as long as texture holds.
Comparison: Cream Method vs Water Method
| Factor | Cream + Chocolate Method | Chocolate + Water Method |
|---|---|---|
| Ingredients | Dairy cream + chocolate | Chocolate + water (vegan / dairy-free) |
| Ease | More forgiving and stable | More technique sensitive |
| Texture | Rich, creamy, stable | Pure chocolate flavor, lighter feel |
| Flexibility | Easier to add flavors, stabilizers | Minimal additives recommended |
| Ideal for | Classic dessert settings, those who consume dairy | Vegan, minimalist style, novelty |



