
Follow Me On Social Media!
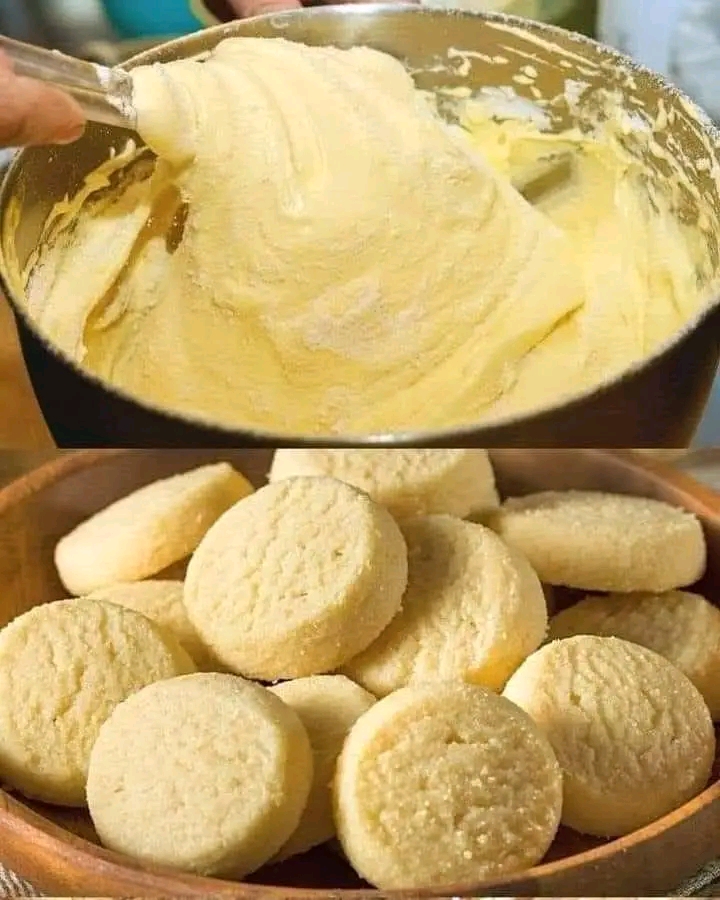
Irresistible Homemade Cookies: A Delightful Recipe

When it comes to comfort food, few things can compete with a fresh batch of homemade cookies. The sweet aroma wafting through your kitchen can evoke memories of childhood and special moments spent with family. Whether you’re looking to satisfy a sweet tooth or impress guests, this cookie recipe is bound to do the trick. In this article, we’ll explore how to make delicious homemade cookies, along with tips and tricks for achieving the perfect bake.
Table of Contents
- Introduction
- Ingredients You’ll Need
- Step-by-Step Instructions
- Tips for the Perfect Cookie
- Variations to Try
- Storing Your Cookies
- Conclusion
Ingredients You’ll Need
To make these delightful cookies, gather the following ingredients:
- 2 1/4 cups all-purpose flour
- 1 teaspoon baking soda
- 1/2 teaspoon salt
- 1 cup unsalted butter, softened
- 3/4 cup granulated sugar
- 3/4 cup brown sugar, packed
- 1 teaspoon vanilla extract
- 2 large eggs
- 2 cups chocolate chips (or your favorite mix-ins)
These basic ingredients come together to create cookies that are soft and chewy on the inside, while slightly crisp on the outside.
Step-by-Step Instructions
Step 1: Preheat the Oven
Begin by preheating your oven to 375°F (190°C). This ensures that your cookies bake evenly and achieve that delightful golden color.
Step 2: Prepare the Dry Ingredients
In a mixing bowl, whisk together 2 1/4 cups of all-purpose flour, 1 teaspoon baking soda, and 1/2 teaspoon salt. This mixture will help your cookies rise and provide structure.
Step 3: Cream the Butter and Sugars
In a separate large bowl, use an electric mixer to cream together 1 cup of softened unsalted butter, 3/4 cup granulated sugar, and 3/4 cup brown sugar until the mixture is light and fluffy. This step adds air to your dough, resulting in a lighter cookie.
Step 4: Add Eggs and Vanilla
Beat in 2 large eggs, one at a time, mixing well after each addition. Then, stir in 1 teaspoon vanilla extract to enhance the flavor of your cookies.
Step 5: Combine Wet and Dry Ingredients
Gradually mix in the dry ingredient mixture with the butter mixture until just combined. Avoid over-mixing, as this can lead to tough cookies.
Step 6: Fold in the Chocolate Chips
Gently fold in 2 cups of chocolate chips (or your favorite mix-ins), ensuring an even distribution throughout the dough.
Step 7: Scoop and Bake
Using a cookie scoop or a tablespoon, drop rounded mounds of dough onto ungreased baking sheets, spacing them about 2 inches apart. Bake in the preheated oven for 9 to 11 minutes, or until the edges are lightly golden while the center remains soft.
Step 8: Cool and Enjoy
Once baked, remove the cookies from the oven and let them cool on the baking sheets for a few minutes before transferring them to wire racks to cool completely.
Tips for the Perfect Cookie
- Use Room Temperature Ingredients: Allowing your butter and eggs to reach room temperature ensures that they combine seamlessly, resulting in a better texture.
- Don’t Overbake: To keep your cookies chewy, take them out when they look slightly underdone in the center; they will continue to bake on the sheet.
- Experiment with Mix-Ins: Consider changing up the chocolate chips for nuts, dried fruit, or even candy pieces for a fun twist.
- Chill the Dough: If you have time, chilling your cookie dough for at least 30 minutes can help prevent spreading, giving you a thicker cookie.
Variations to Try
- Oatmeal Raisin Cookies: Substitute half the flour for rolled oats and add raisins for a chewy texture.
- Peanut Butter Cookies: Replace half the butter with creamy peanut butter for a nutty flavor.
- Snickerdoodles: Roll the cookie dough balls in cinnamon sugar before baking for a sweet twist.
- Gluten-Free Option: Use a gluten-free all-purpose flour blend to make these cookies suitable for those with gluten sensitivities.
Storing Your Cookies
To keep your cookies fresh, store them in an airtight container at room temperature for up to a week. For longer storage, consider freezing them. Place cooled cookies in a single layer in a freezer-safe bag or container, and they can last for up to three months.
Conclusion
Making homemade cookies is a rewarding and enjoyable process. With this simple recipe, you can create delicious treats that are perfect for any occasion. Whether you’re baking for a special event or simply to indulge yourself, these cookies are sure to please. Don’t forget to share your creations with friends and family—they’ll appreciate your baking skills and love the delightful taste of your homemade cookies!
Feel free to customize any sections to better suit your audience or specific requirements!



