Follow Me On Social Media!
$300 Frosting Recipe Revealed The Ultimate Cake & Cupcake Frosting

Introduction
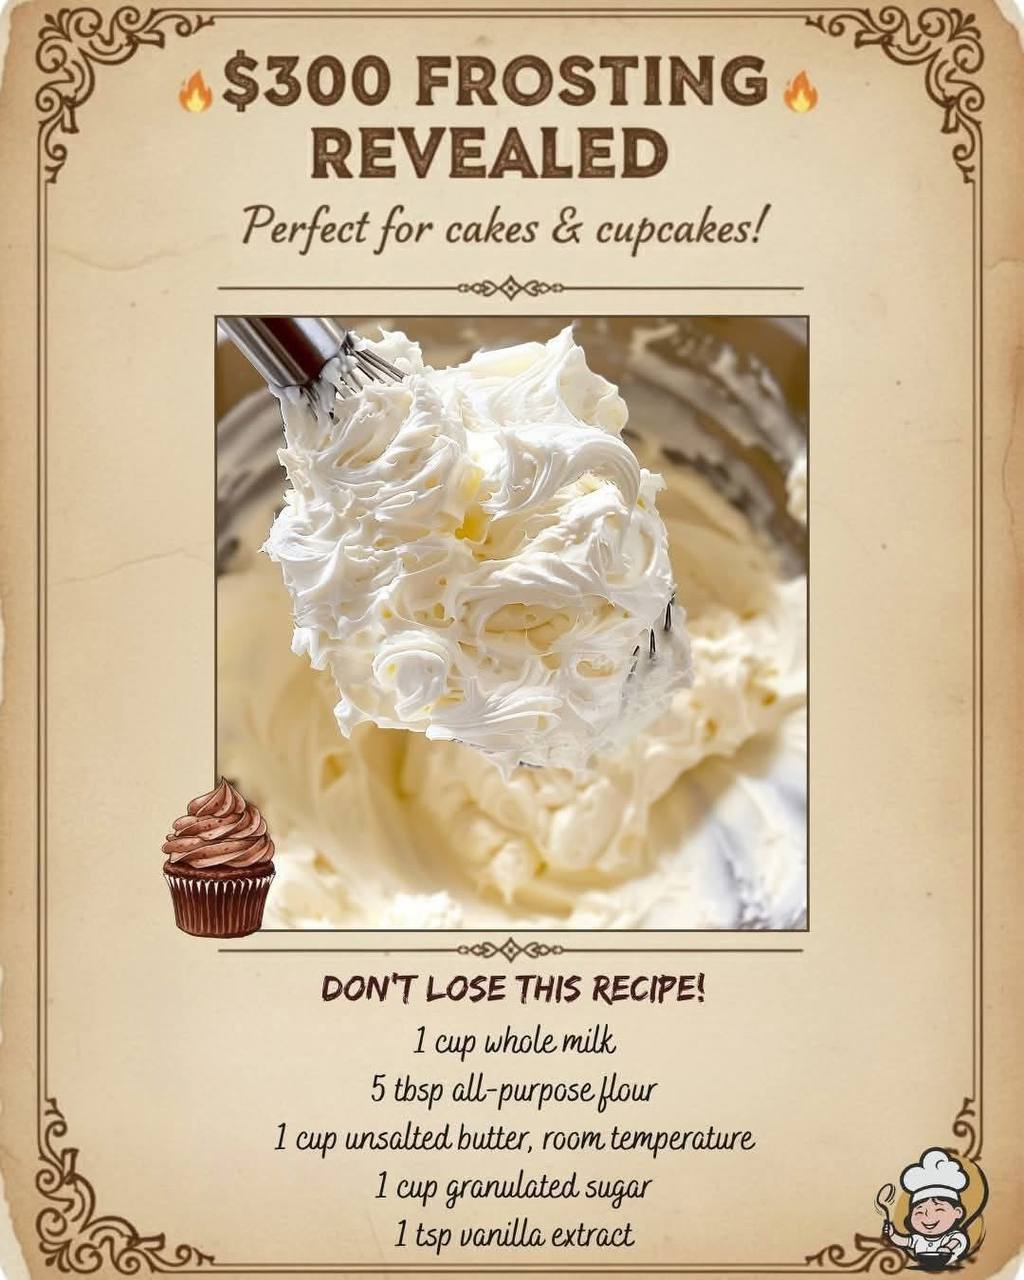
Prepare to have your frosting world utterly transformed. Today, we’re pulling back the curtain on a recipe so exquisite, so unbelievably light, fluffy, and perfectly balanced, it’s been affectionately dubbed the “$300 Frosting.” Now, before you panic and check your bank account, let’s clarify: this isn’t about the actual cost of ingredients (which are surprisingly humble!), but rather the luxurious, high-end experience it delivers. This isn’t your average overly sweet, gritty buttercream. This is an elegant, sophisticated frosting that tastes like a cloud kissed with subtle sweetness, making it the ultimate companion for any cake or cupcake.
What exactly is this magical creation? It’s a classic cooked flour frosting, often known as Ermine frosting or sometimes called a “roux buttercream.” Unlike traditional American buttercream, which relies heavily on powdered sugar for structure, this frosting starts with a simple cooked mixture of milk and flour, creating a thick, pudding-like paste. This paste is then whipped into butter and sugar, resulting in a frosting that is incredibly stable, remarkably smooth, and has a unique, almost velvety texture that melts in your mouth. Its delicate sweetness allows the flavor of your cake or cupcake to truly shine, rather than overpowering it.
Its unparalleled texture and balanced sweetness make it incredibly versatile. Whether you’re aiming for perfectly piped swirls on cupcakes, a smooth, elegant finish on a layer cake, or a delightful filling, this frosting delivers every single time. It holds its shape beautifully, pipes like a dream, and won’t leave you with that cloying, sugary aftertaste. Get ready to discover your new go-to frosting recipe – one that will impress everyone who takes a bite.
Nutritional Information
Per serving (approximate values for 1/24th of recipe):
- Calories: 175
- Protein: 1g
- Carbohydrates: 16g
- Fat: 12g
- Fiber: 0g
- Sodium: 5mg
Ingredients
- 1 cup whole milk
- 5 tablespoons all-purpose flour
- 1 cup (2 sticks) unsalted butter, softened to room temperature
- 1 cup granulated sugar
- 1 teaspoon pure vanilla extract
Instructions
- Prepare the Flour Paste: In a medium saucepan, whisk together the whole milk and all-purpose flour until absolutely no lumps remain. Place the saucepan over medium heat and cook, whisking constantly, until the mixture thickens considerably and resembles a very thick pudding or paste. This will take about 5-8 minutes. It should be thick enough to leave trails when you stir it.
- Cool the Flour Paste: Once thickened, remove the saucepan from the heat. Transfer the flour paste to a shallow bowl or plate to help it cool down faster. Cover the surface directly with plastic wrap to prevent a skin from forming. Allow it to cool completely to room temperature. This step is crucial; if the paste is even slightly warm, it will melt the butter in the next step and ruin the frosting’s texture. You can place it in the refrigerator for about 30-60 minutes to speed up the cooling process, but ensure it’s not cold or stiff, just completely cool.
- Cream the Butter and Sugar: In the bowl of a stand mixer fitted with the paddle attachment (or using a large bowl and a hand mixer), beat the softened room temperature unsalted butter on medium-high speed for 2-3 minutes until it is very light, pale, and fluffy. Gradually add the granulated sugar, about a quarter cup at a time, beating well after each addition. Continue to beat for another 5-7 minutes until the mixture is very light, airy, and almost white. Scrape down the sides of the bowl occasionally to ensure everything is well incorporated.
- Combine the Mixtures: With the mixer on low speed, begin adding the cooled flour paste to the creamed butter and sugar mixture, one tablespoon at a time. Continue mixing until all the paste has been added.
- Whip to Perfection: Once all the flour paste is incorporated, increase the mixer speed to medium-high. Beat the frosting for a full 5-8 minutes. During this process, the frosting may look curdled or separated – do not worry! This is normal. Keep beating. It will eventually come together, become incredibly smooth, light, and wonderfully fluffy. The volume will also increase significantly.
- Add Vanilla: Reduce the mixer speed to low and add the vanilla extract. Mix until just combined, then increase the speed to medium-high for a final 30 seconds to ensure everything is perfectly aerated and smooth.
- Use Immediately: Your “$300 Frosting” is now ready to use! Spread it on cooled cakes or pipe it onto cupcakes.
Cooking Tips and Variations
The Importance of Room Temperature Butter: This cannot be stressed enough. If your butter is too cold, it won’t cream properly with the sugar, leading to a dense, lumpy frosting. If it’s too warm (melty), the frosting will be greasy and won’t hold its shape. Ideal room temperature butter should yield slightly to gentle pressure from your finger.
Cooling the Flour Paste is Non-Negotiable: A warm flour paste will instantly melt your beautifully creamed butter, resulting in a soupy, unusable mess. Ensure it’s completely cooled, ideally to the same temperature as your room temperature butter.
Don’t Be Afraid of the “Curdled” Stage: Many first-time makers of this frosting panic when it looks curdled or separated after adding the flour paste. This is a common phase! Just keep beating. The mixture needs time to emulsify and aerate properly. Patience is key; it will transform into a smooth, luxurious frosting.
Scrape Down the Bowl: Regularly scrape down the sides and bottom of your mixing bowl, especially when creaming butter and sugar, and again after adding the flour paste. This ensures all ingredients are fully incorporated and prevents streaks of unmixed butter or sugar.
For a Chocolate Version: Sift 1/2 cup unsweetened cocoa powder into the flour paste once it’s cooked and still warm, whisking until smooth. Let it cool completely. Alternatively, you can add 1/2 cup of melted and cooled unsweetened chocolate or semi-sweet chocolate to the finished frosting at the very end, mixing until just combined. For a deeper chocolate flavor, you can also add 1/2 teaspoon of espresso powder with the cocoa.
Citrus Zest Variation: For a bright, fresh flavor, add 1-2 tablespoons of finely grated lemon, lime, or orange zest along with the vanilla extract. The oils from the zest will infuse beautifully into the frosting.
Nutty Flavor: Replace the vanilla extract with 1 teaspoon of almond extract for a delicious almond-flavored frosting. For a hazelnut version, add 1/2 teaspoon of hazelnut extract. You can also mix in 1/4 cup of finely ground toasted nuts (like pecans or walnuts) at the very end.
Coffee Frosting: Dissolve 1-2 teaspoons of instant espresso powder or instant coffee granules in 1 tablespoon of hot water. Let it cool completely, then add it to the frosting along with the vanilla extract.
Adjusting Sweetness: This frosting is known for being less sweet than American buttercream. If you prefer a slightly sweeter frosting, you can increase the granulated sugar by 1/4 cup in the initial creaming stage. However, try it as written first; many find its balanced sweetness to be its best quality.
Storage and Reheating
Room Temperature Storage: This frosting can be left at cool room temperature (below 70°F or 21°C) for up to 2 days, especially if your kitchen isn’t overly warm. Keep it in an airtight container to prevent it from drying out or absorbing odors.
Refrigerator Storage: For longer storage, transfer the frosting to an airtight container and refrigerate for up to 1 week. When you’re ready to use it, remove it from the refrigerator and let it come to room temperature (this can take 1-2 hours). Once it’s softened, re-whip it in your stand mixer or with a hand mixer on medium-high speed for a few minutes until it becomes light, fluffy, and smooth again. You might need to add a splash of milk (1-2 teaspoons) if it seems too stiff.
Freezer Storage: This frosting freezes beautifully! Place it in a freezer-safe, airtight container and freeze for up to 3 months. To use, transfer it to the refrigerator overnight to thaw. Once thawed, let it come to room temperature on the counter, then re-whip it vigorously until it’s light and fluffy, adding a tiny bit of milk if needed.
Reheating (or Re-whipping): This frosting doesn’t “reheat” in the traditional sense, as it’s not meant to be warm. The process is more about bringing it back to its ideal consistency after refrigeration or freezing. Always ensure it’s at room temperature before re-whipping to avoid a curdled appearance or a greasy texture. The re-whipping step is crucial to restore its airy, smooth texture.
Frequently Asked Questions
Why is my frosting runny or soupy?
The most common reason for runny frosting is that the flour paste was not cooled completely before being added to the butter. Even slightly warm paste will melt the butter. Another reason could be that your butter was too warm to begin with, or the kitchen environment is excessively hot. If it’s just a little soft, try refrigerating the entire bowl for 15-20 minutes, then re-whip it. If it’s completely soupy, it’s likely due to warm paste; unfortunately, this is hard to recover from.
Can I use a different type of milk?
While whole milk provides the best richness and creaminess for the flour paste, you can use 2% milk with good results. Skim milk might make the paste a bit thinner and less rich. Non-dairy milks like almond or oat milk can also work, but the final texture and flavor might be slightly different. Ensure they are unsweetened if you choose a non-dairy option.
My frosting looks curdled, what do I do?
This is a very common concern and usually not a problem! After adding the cooled flour paste to the creamed butter and sugar, the mixture often looks curdled or separated. The key is to keep beating it on medium-high speed. It needs a good 5-8 minutes of continuous whipping to fully emulsify and become smooth, light, and fluffy. Don’t stop too early!
Can I make this frosting less sweet?
This frosting is already significantly less sweet than traditional American buttercream, which is one of its main appeals. The recipe as written provides a beautifully balanced sweetness. If you want to reduce it further, you could try reducing the granulated sugar by 1/4 cup, but be aware that sugar also contributes to the frosting’s structure and texture, so reducing it too much might affect the final consistency.